2009-04-13
A few months ago, I visited archive.org in search of public domain music. What I found that grabbed my interest was quite a bit of old-timey Appalachian songs with a banjo for accompaniment. Fast forward to a few weeks ago when an evening of watching youtube videos was comprised entirely of introduction and instruction on playing the banjo in the clawhammer or frailing style. This was followed by watching videos of people playing their homemade banjers. I think you know where this is going........
I am a fortunate person with good crafty friends.
A very good friend of mine happens to enjoy crafting wood and he agreed to let me make a banjo in his wood shop during the weekends. First thing first, select a piece of wood for the neck. To be honest, the first thing that I did was to purchase a candy tin from a local thrift store to be the pot of my banjo. Back to the neck. While searching through the scrap wood in the shop I found a piece of maple that my friend said was a poor choice because it was sap wood. Oh the poor rejected piece of wood. Just kidding, I chose the sap wood piece. It was about 35"x3"x1". There were probably a few 16ths, 32nds,8ths, or quarters that should be included in the measurement but I don't like fractions. Metric System; for the win!
 Anyway, after a lecture on shop safety and instruction on power tool usage, I was ready to start making the neck. A few passes on the joiner and the planer and the neck was squared up nicely and it was time to sand what would be the fret board ( I'm not actually using a seperate board for the fret board).
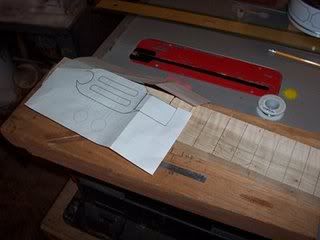 After cutting the channels for the frets, I needed to design a head stock. Thanks to inkscape, I soon had a nice printable vector graphic of my headstock.
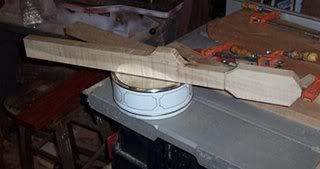 The rough cut shape with the tin that will be the banjo pot.
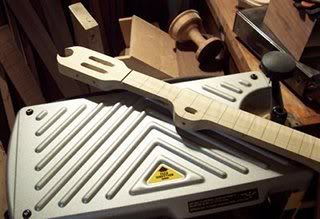 With a lot of rasp work, the neck is really starting to take shape. Someone should call Indiana Jones because I think the grail has been found.
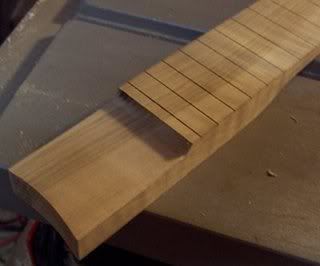 The base of the neck needed to be rounded in order to sit flush against the pot and a "strum area" was routed out.
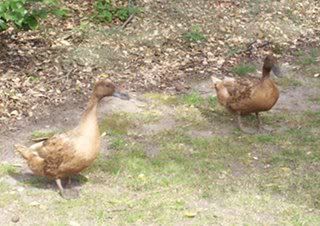 Later that day, these two ducks decided to visit my friends back yard in search of bugs.
That's it for part 1. Next weekend is tuning pegs and other assorted nick-nacks.
I am a fortunate person with good crafty friends.
A very good friend of mine happens to enjoy crafting wood and he agreed to let me make a banjo in his wood shop during the weekends. First thing first, select a piece of wood for the neck. To be honest, the first thing that I did was to purchase a candy tin from a local thrift store to be the pot of my banjo. Back to the neck. While searching through the scrap wood in the shop I found a piece of maple that my friend said was a poor choice because it was sap wood. Oh the poor rejected piece of wood. Just kidding, I chose the sap wood piece. It was about 35"x3"x1". There were probably a few 16ths, 32nds,8ths, or quarters that should be included in the measurement but I don't like fractions. Metric System; for the win!
 Anyway, after a lecture on shop safety and instruction on power tool usage, I was ready to start making the neck. A few passes on the joiner and the planer and the neck was squared up nicely and it was time to sand what would be the fret board ( I'm not actually using a seperate board for the fret board).
 After cutting the channels for the frets, I needed to design a head stock. Thanks to inkscape, I soon had a nice printable vector graphic of my headstock.
  The rough cut shape with the tin that will be the banjo pot.
 With a lot of rasp work, the neck is really starting to take shape. Someone should call Indiana Jones because I think the grail has been found.
 The base of the neck needed to be rounded in order to sit flush against the pot and a "strum area" was routed out.
 Later that day, these two ducks decided to visit my friends back yard in search of bugs.
That's it for part 1. Next weekend is tuning pegs and other assorted nick-nacks.
Comments
